Astrophotography With Free Software
For a number of years I have wanted to switch to using all free software involved in my astrophotography. The intent of this post is to outline what I am now using and how it is working out for me.
Let me start with what might be the elephant in the room. Why, when I have likely spent a few or several thousand dollars on imaging hardware for astrophotography, would I decide to make due with free software for capture and processing? The answer is, well, because I want to. I would also say that the free software I am using isn’t a step down from what I have paid for in the past. It’s different, and I may have left a few small features behind, but all the major needs are met. I have been a Linux user for many years, since 1996 or so. I believe in its mission and the mission of open source software. I don’t use it because it’s cheap, I use it because I think it’s a good idea.
I’m going to explain using Linux, but all of this software is available on Macintosh or Windows.
Indilib
If you are currently using windows to control your telescope and capture data, you are almost certainly using ASCOM to control your hardware. Ascom is only available on windows. If you aren’t a windows user, you need to use Indi instead to control your hardware. I won’t explain how to get set up with Indi. You can find how to do this by going to indilib.org.
Data Capture
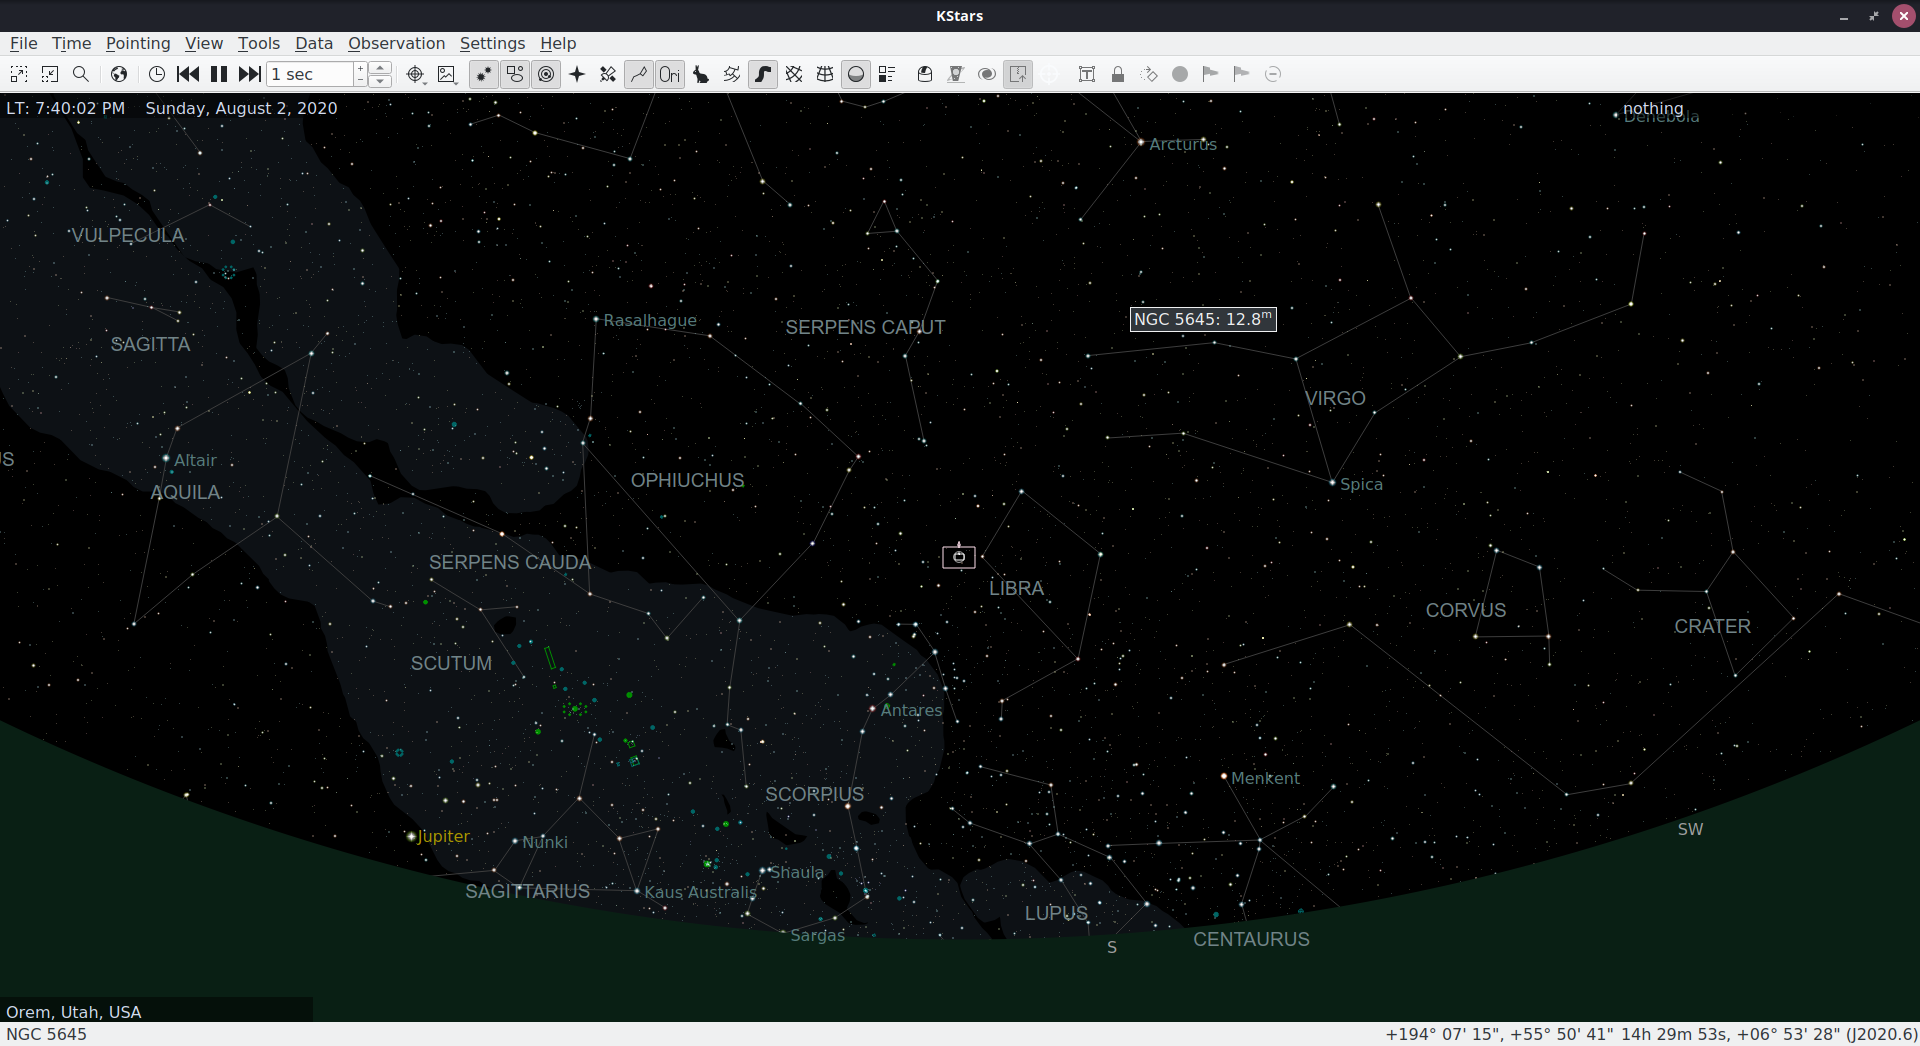
There are a few ways to perform capture data using Indi. I have chosen to use KStars. It is probably the widest used of all the possibilities.
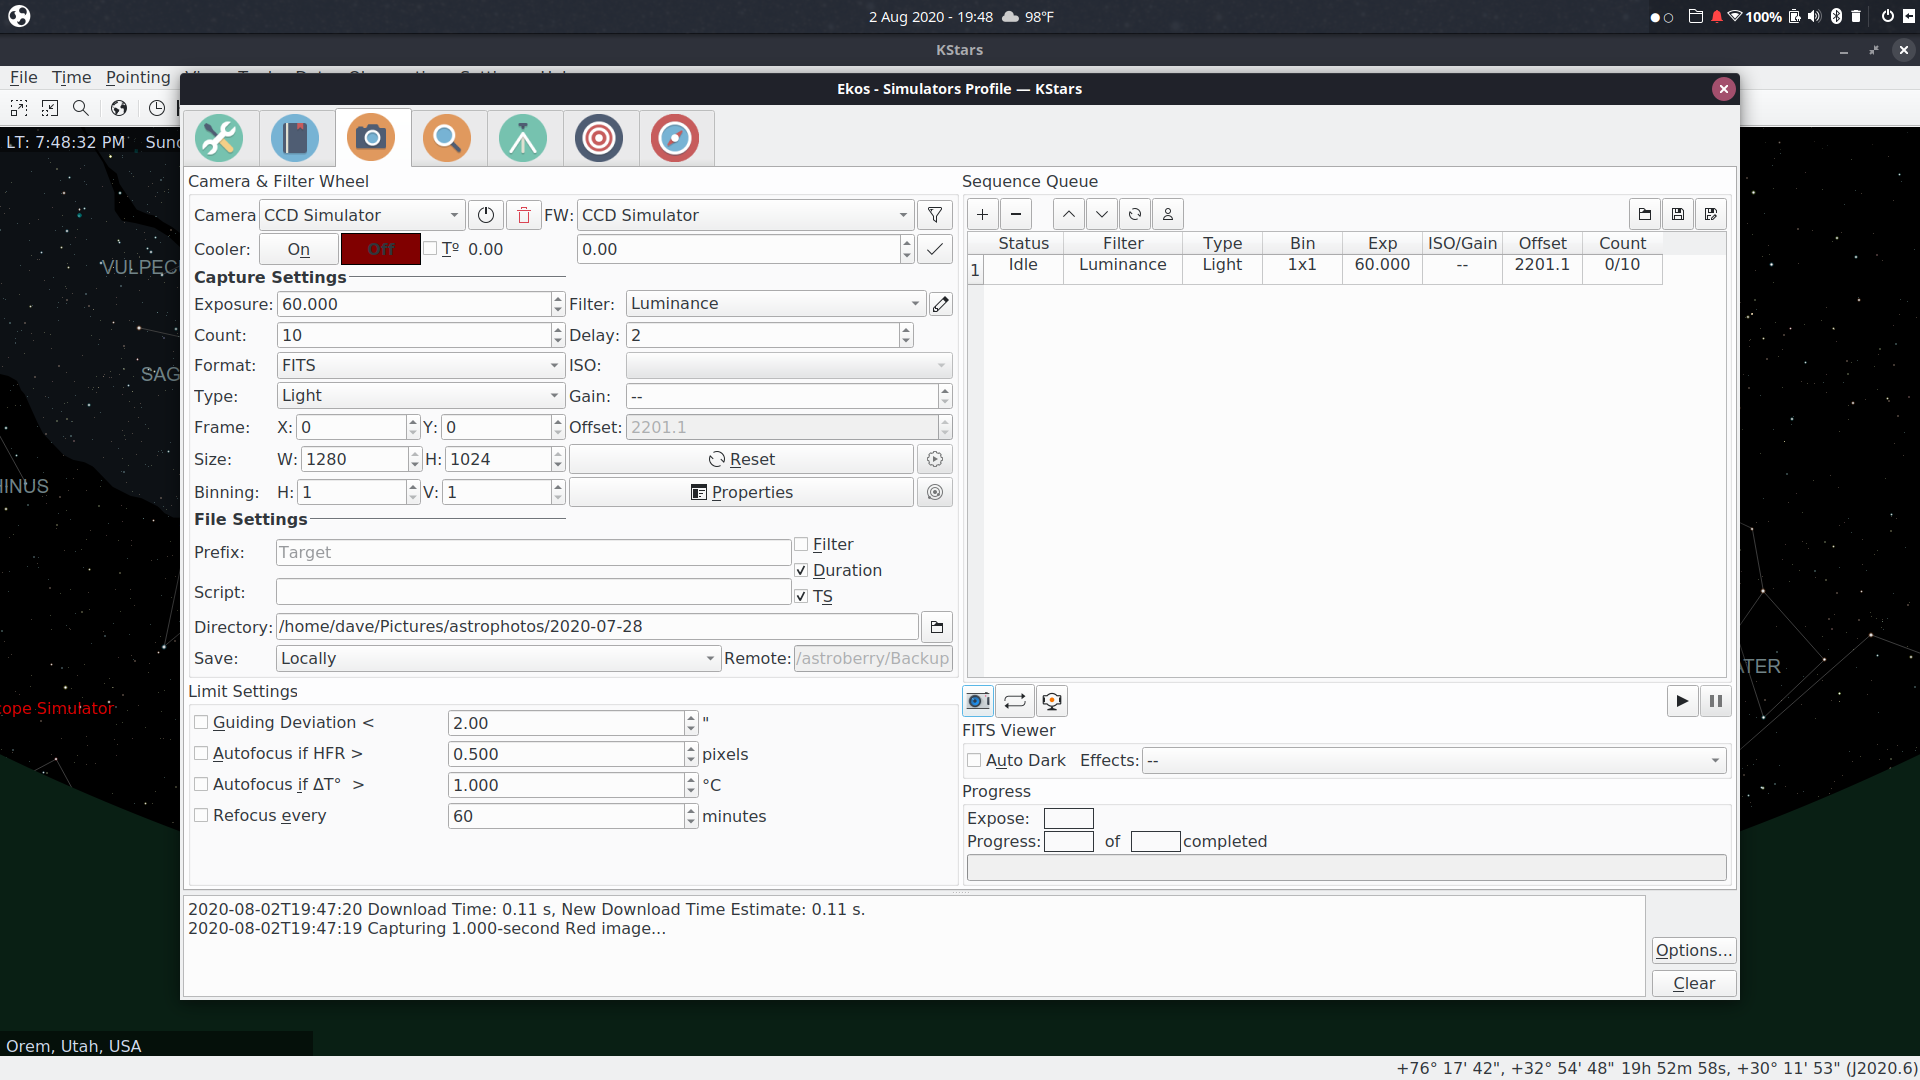
You will capture your data using a module within KStars called Ekos. It acts as both the Indi server and a client. You can set up your devices and start working with them to capture. You can use it to capture lights, darks, flats, and biases. I like to change my working directory in Ekos for each target, creating a new directory each time. If I am intending to shoot M11, I create an M11 directory. I choose to also make these target directories a child of a directory for the date. You may have a different method.
In your working directory, Ekos will create directories called Light, Dark, Flat, and Bias. This is assuming you shoot all of those for each target, which you probably won’t. If you shoot more than one target in a session, you will probably shoot darks, flats, and biases at the start or the end of the session. You might consider putting those in a “support-files” directory for the date. Your choice.
There are good tutorials and blog posts on capturing data with KStars/Ekos. If you have specific questions, ask them in the comments.
Processing Your Data in Siril
One of the reasons I took awhile to decide to switch to Linux for image processing was that I was using Deep Sky Stacker for stacking my images. I had looked at stackers for other operating systems, but it appeared that DSS was the only simple way to do it. I was very wrong. I finally gave Siril a try. I’ve found it to be nearly as simple as DSS, and as a bonus I can script it so that the stacking happens semi-automatically.
You don’t have to use scripts in Siril, but I have found that it is easiest for me to use them. Siril has several pre-built scripts to stack your images. I used those for awhile and then wrote my own modifications to them.
If you decide to use the built in scripts, you need to organize your data into specific directories. You need a working directory that consists of these directories
lights
darks
flats
biases
They need to be these exact names, including case. No capital letters. You can later choose to modify the scripts and you can rename the directories to match what Ekos produces. I have not found a way to modify Ekos to change those directory names. Your images can be in fits format, or in your camera’s raw format. I use a Canon DSLR, so I use cr2 format.
You should skip the rest of this section if you are new to siril, or if you are satisfied with how the scripts work.
I had an issue that wasn’t straight-forward to fix. As I said above, I didn’t want to have to have copies of the support files, ie darks, flats, biases in each directory that had lights. So, I thought, Linux symbolic links would come to the rescue. Unfortunately, the scripts in siril don’t work with symbolic links. They move in a relative way, so if I make a symbolic link to the biases directory in my lights directory, when the biases are done being processed the script does a “cd ..” which makes the current working directory whereever the parent of the real biases directory is, because it doesn’t follow the symbolic link back out. Then when the script tries to cd to the flats directory it doesn’t exist, because we are in the wrong directory at that point.
So, what to do. I ended up creating small siril scripts that only do one specific portion of stacking. One for biases, another for flats, then darks, and finally lights. I then wrote a small shell script that uses absolute directories instead of relative. Here is that script:
#!/bin/sh
WORKING_DIR=`dirname $0`

siril -s $WORKING_DIR/process_biases.ssf -d $1 &&
siril -s $WORKING_DIR/process_flats.ssf -d $1 &&
siril -s $WORKING_DIR/process_darks.ssf -d $1 &&
siril -s $WORKING_DIR/process_lights.ssf -d $1%
And here are the smaller siril scripts:
process_biases.ssf
#build master-bias
cd biases
convertraw bias_
stack bias_ rej 3 3 -nonorm

close
process_flats.ssf
#preprocess flats
cd flats
convertraw flat_
preprocess flat_ -bias=../biases/bias_stacked

#build master-flat
stack pp_flat_ rej 3 3 -norm=mul

close
process_darks.ssf
#build master-dark
cd darks
convertraw dark_
stack dark_ rej 3 3 -nonorm

close
process_lights.ssf
#preprocess lights
cd lights
convertraw light_
preprocess light_ -dark=../darks/dark_stacked -flat=../flats/pp_flat_stacked -cfa -equalize_cfa -debayer -stretch

#align lights
register pp_light_

#stack calibrated lights
stack r_pp_light_ rej 3 3 -norm=addscale -out=../result

close
You can then do
stack.sh m11You will end up with a file called “result.fits” in the working directory.
Post processing your image
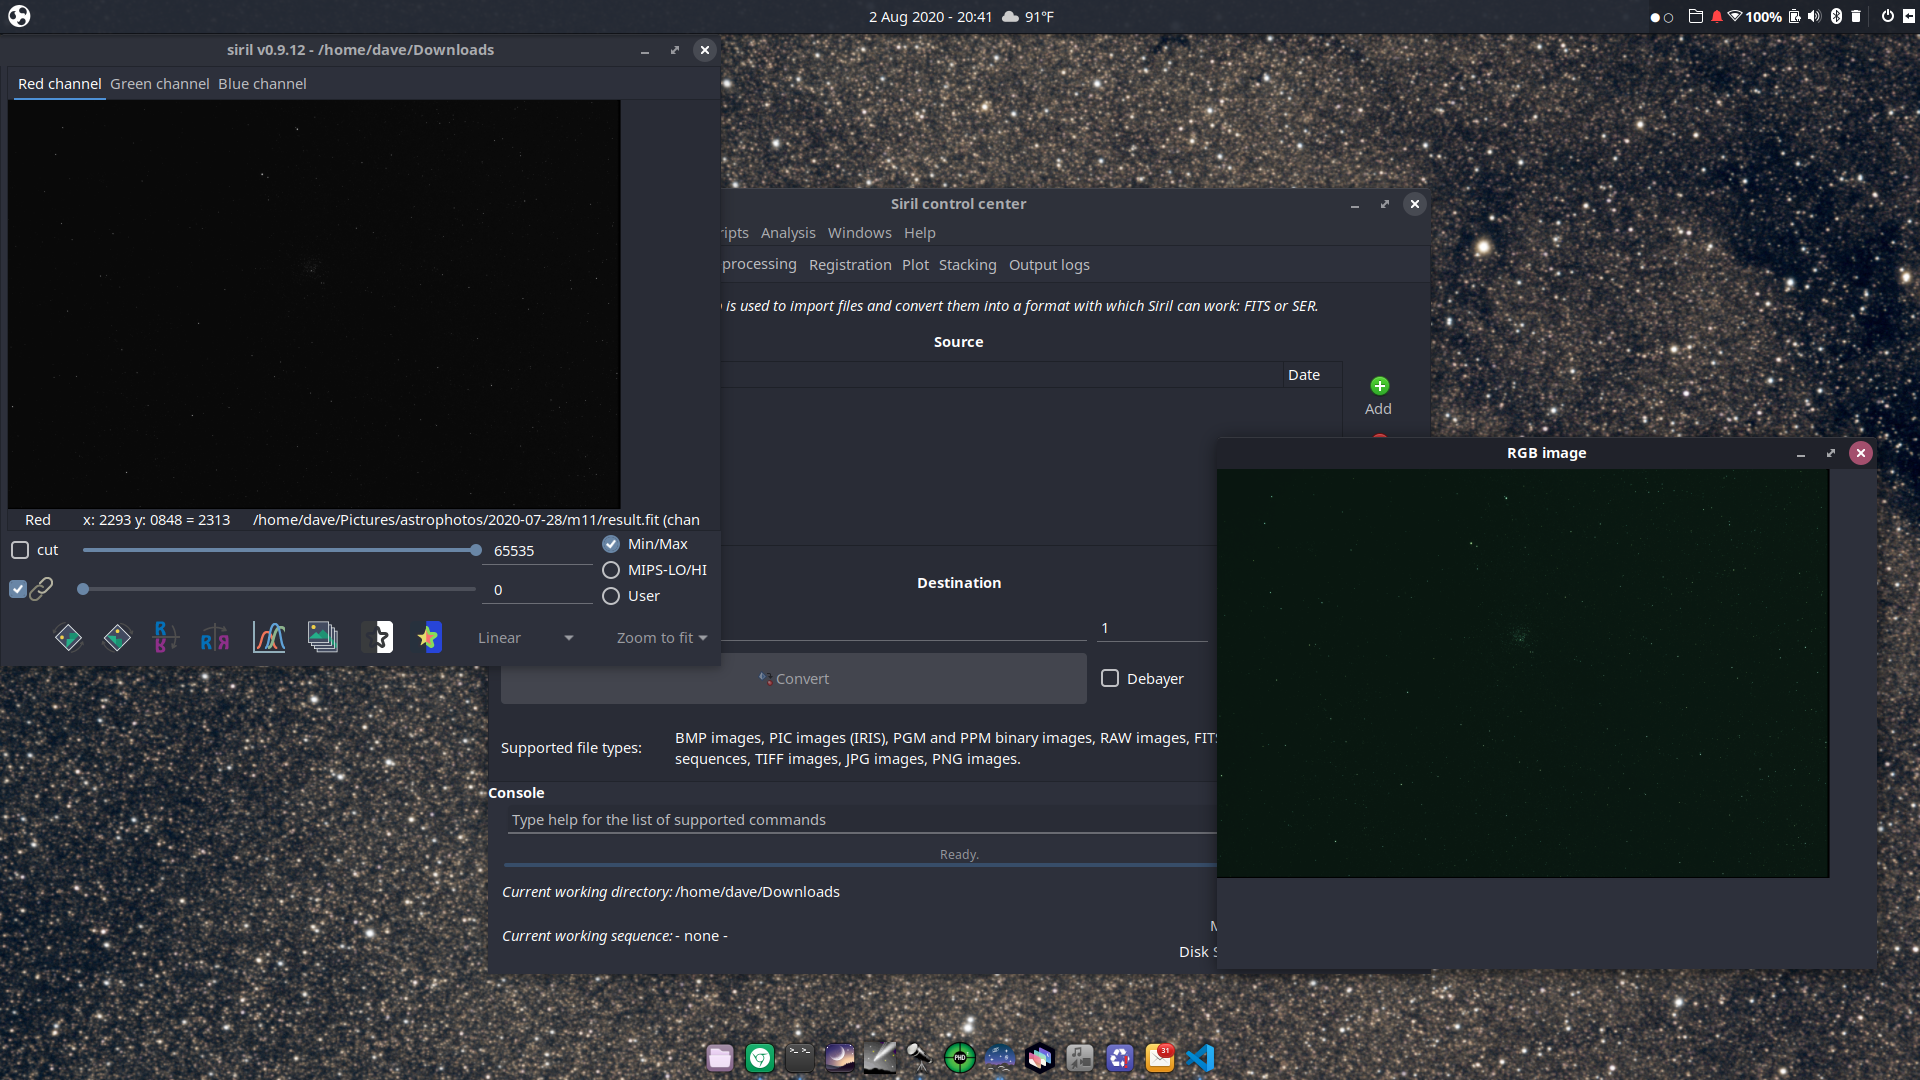
Once you have the result fits file, open it in siril. You will have something like this:
I HIGHLY recommend this video for processing in siril. It was a revalation to me.
I currently use several of the tools in siril for processing, in this order.
-
Photometric Color Calibration
-
Remove Green Noise…
-
Histogram Transformation…
-
Asinh Transformation…
-
Background Exraction…
-
Deconvolution
I might do some Color Saturation, but I usually do that in Gimp. I haven’t learned the other processing tools, but I expect I will learn them in time and put them to use.
At this point I save the file in tif format to move on to Gimp. I am also using Glimpse, which is a Gimp fork.
Gimp
Open the tif file in Gimp and follow the youtube video above. I especially like his method for using a mask to help remove noise in the background black. I’ve gotten better at using layers as well.
I may hash out more specifics on the parts of this workflow, but for now this is how I am doing it at a high level.